
Installation guide
Fitting SavvyStance
A 12V feed and a sensor mounted the right way up - that is the fitting. The part worth doing carefully is the calibration afterwards, because that is what turns a tilt reading into "put 8 cm under the front".
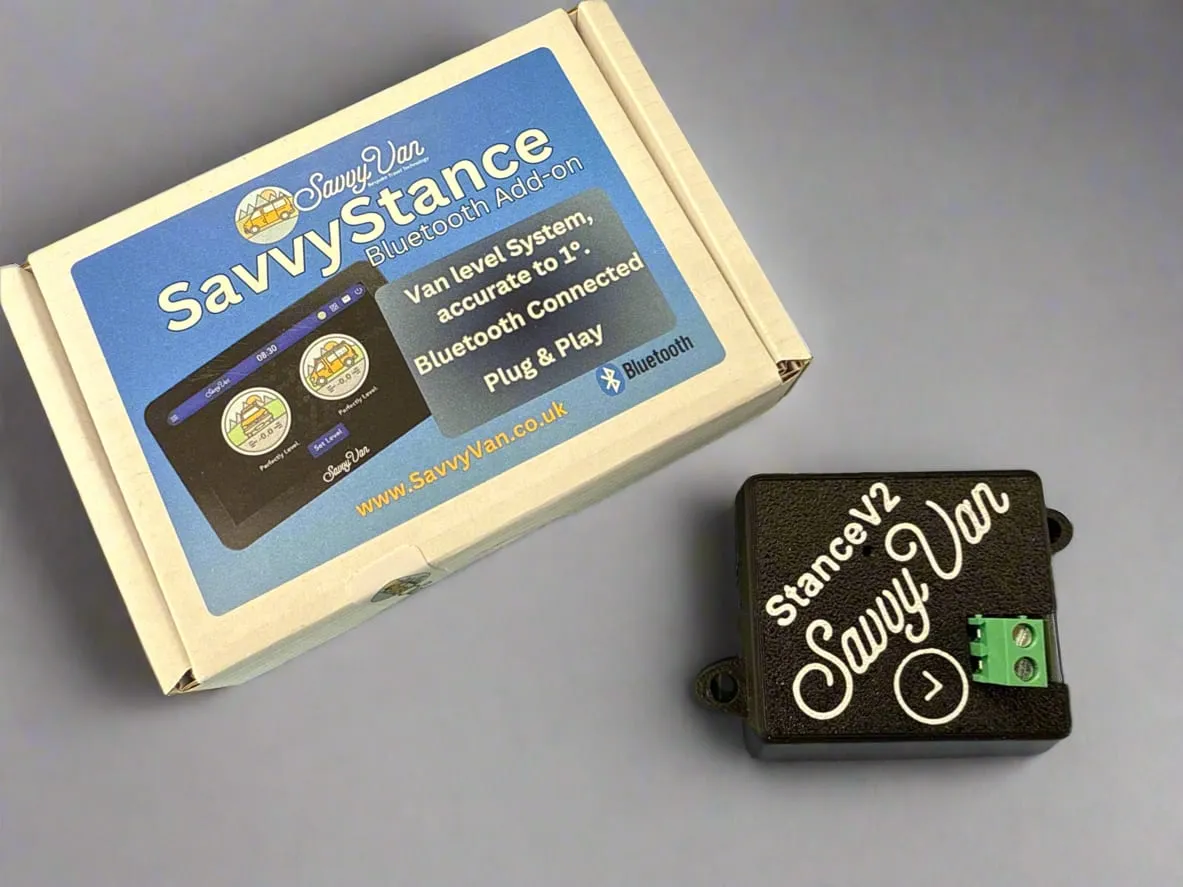
At a glance
- Measures
- Up to 20° on two axes
- Sampling
- Every 5 seconds
- Needs
- A 12V feed and a roughly level mounting surface
- Pairs as
- StanceV2 - a first-generation sensor shows as SavvyStance
- Working voltage
- 7–30V, drawing 0.03A at 12V
- Not compatible with
- SavvyVan Lite v2.1 panels
Watch it first
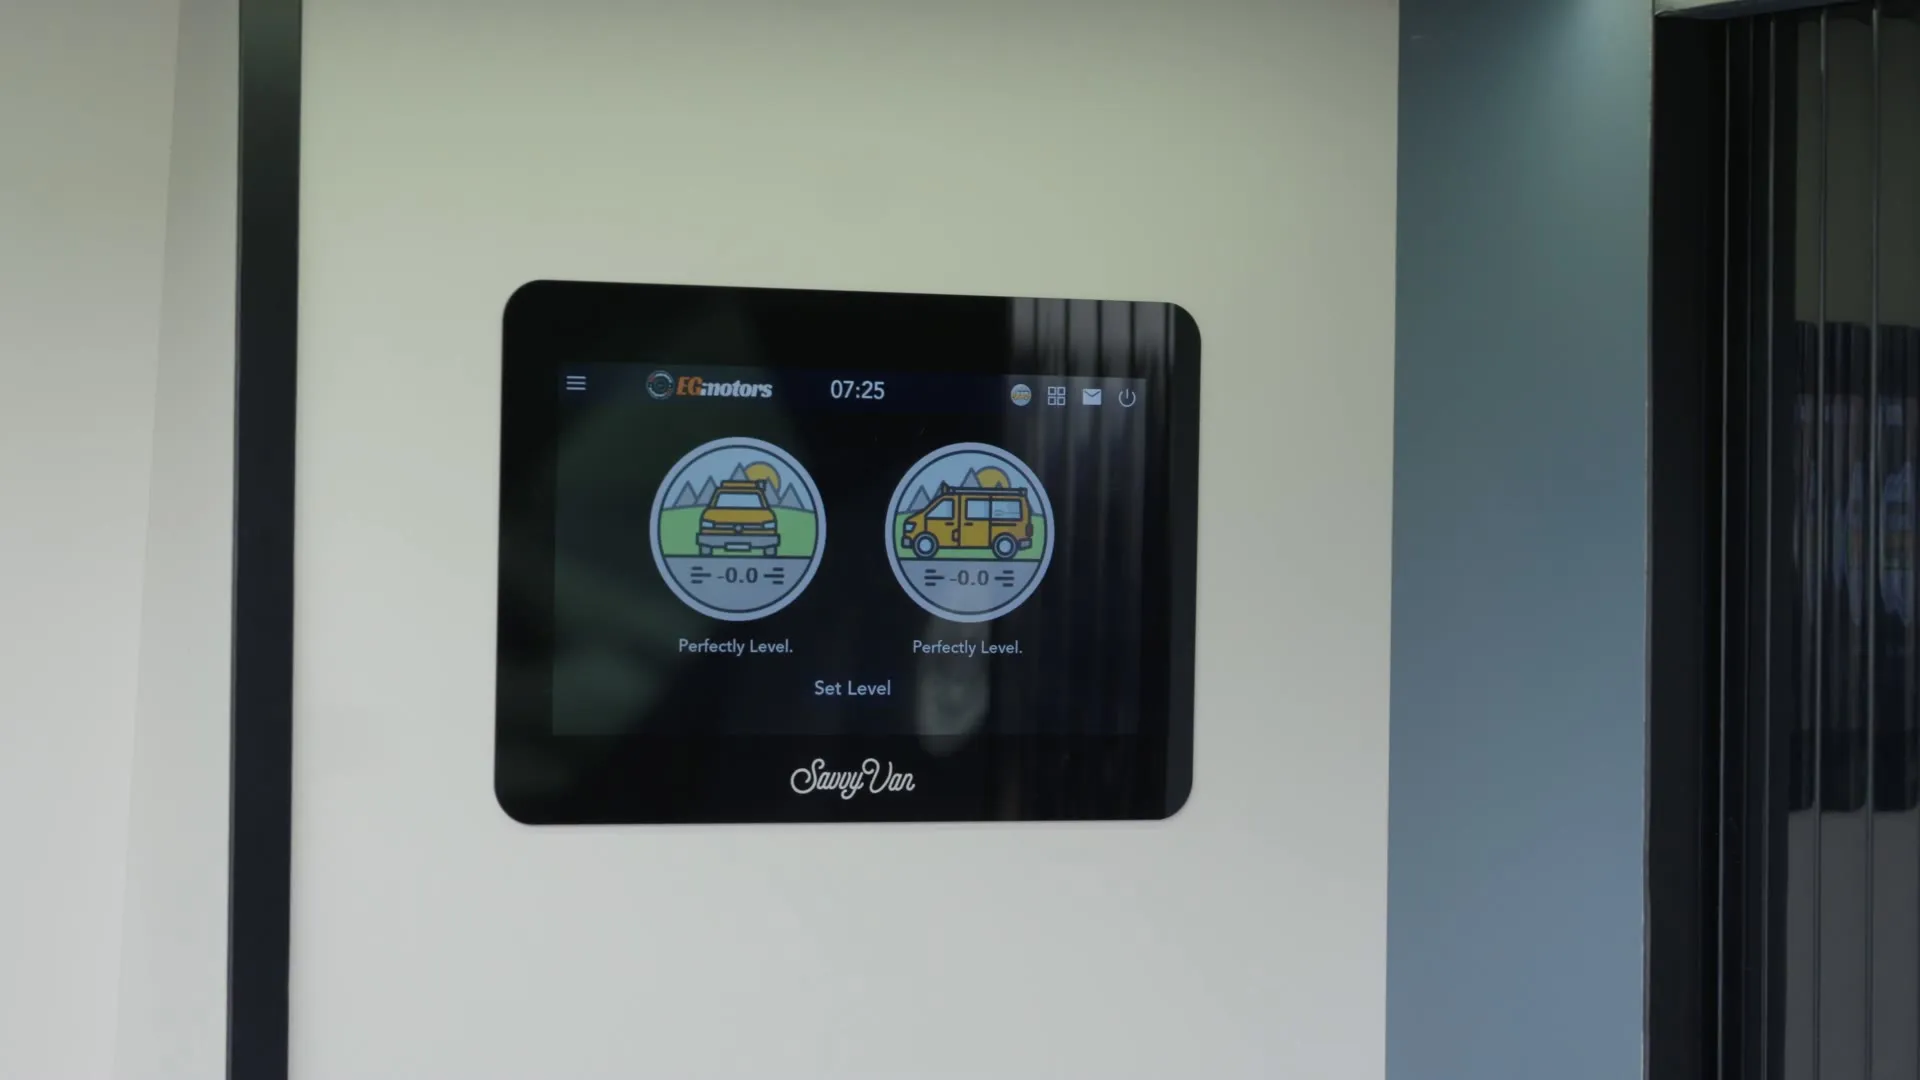
What SavvyStance does and what it shows you, in 38 seconds. Fitting it and calibrating it follow below.
Mounting it
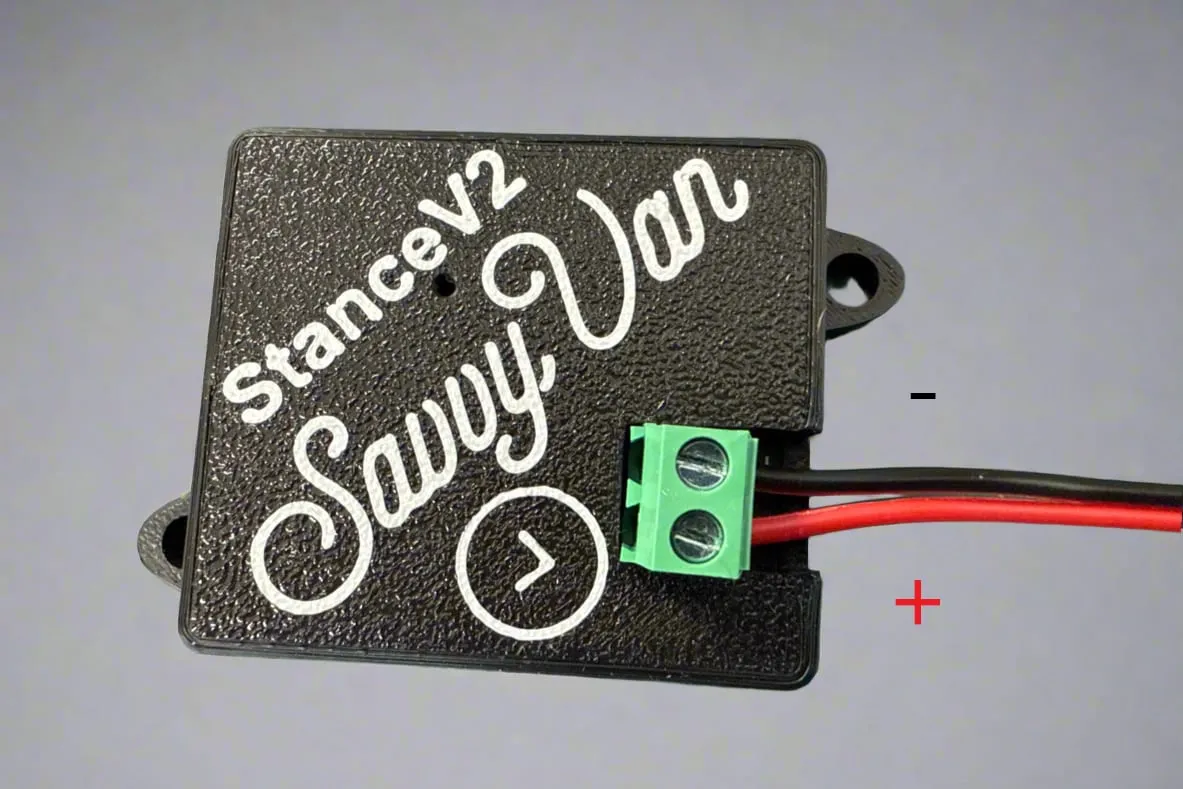
The sensor needs a 12V feed and somewhere solid to live.
Pick somewhere roughly level and rigid. It need not be perfectly level - the calibration below handles that - but it must be fixed to something that will not flex or move.
The sensor is a serviceable part, so it must also be mounted where it can be reached, disconnected and removed without dismantling fixed furniture or bonded panels - for example in an electrical locker, under a seat, or behind a removable access panel.
Make sure the panel is on the latest software before pairing - instructions are in the SavvyVan3 user guide.
What the light is telling you
One LED on the module tells you where you are - check it before you go near the panel.
| The light | What it means |
|---|---|
| Solid green | Powered up and booting. Give it a few seconds |
| Flashing blue | Booted, and waiting to pair |
| Solid blue | Paired to your panel. Nothing more to do |
| Red | Something is wrong - see troubleshooting |
| Nothing at all | No power reaching it - see troubleshooting |
Pairing it
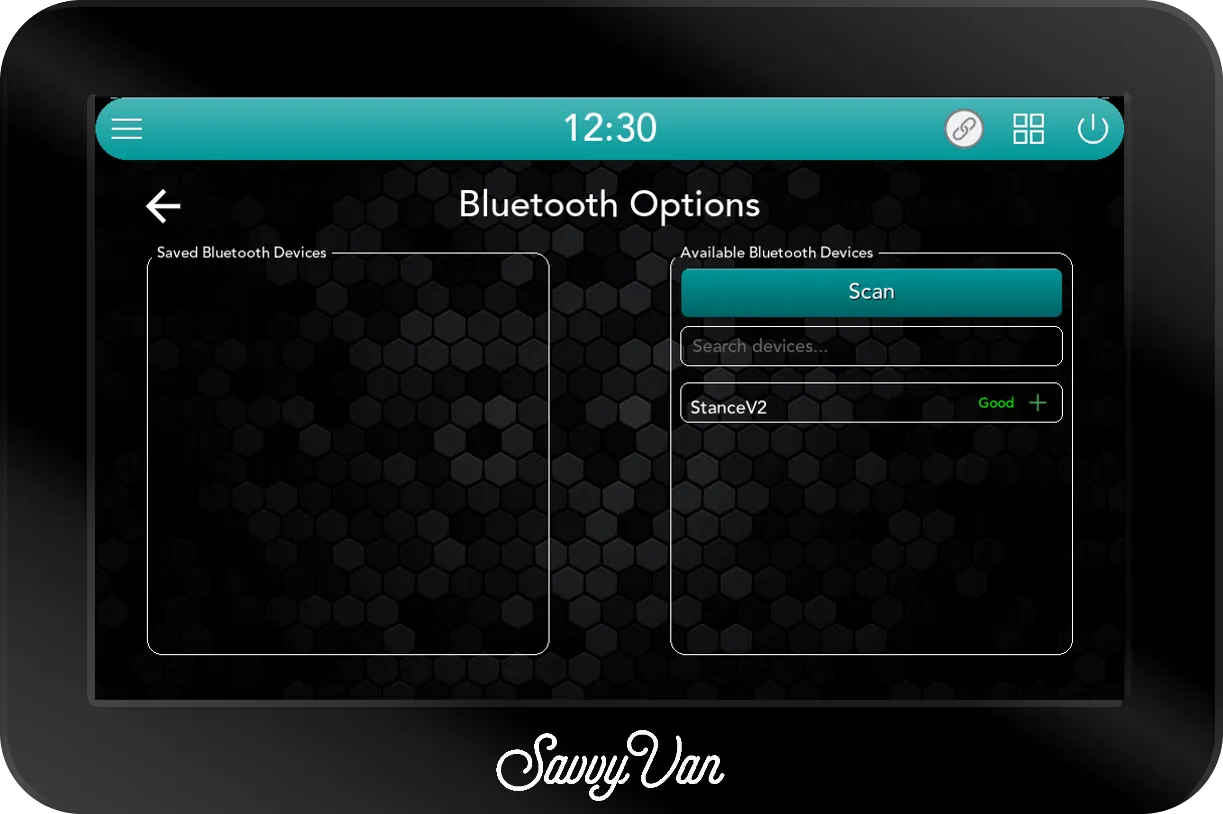
- On the panel, open Installer Settings, enter the passcode, and go to the device pairing screen - the one with Scan on the right.
- Look in the right-hand list. Modules nearby appear there on their own within a few seconds. If yours has not, tap Scan.
- Tap the green + next to
StanceV2. An original, first-generation sensor shows asSavvyStanceinstead; either is yours.
Setting your level
The sensor has no idea what level means in your van until you tell it.
- Level the van by hand. A spirit level or a phone app is accurate enough, and this is the measurement everything else is built on - take a minute over it.
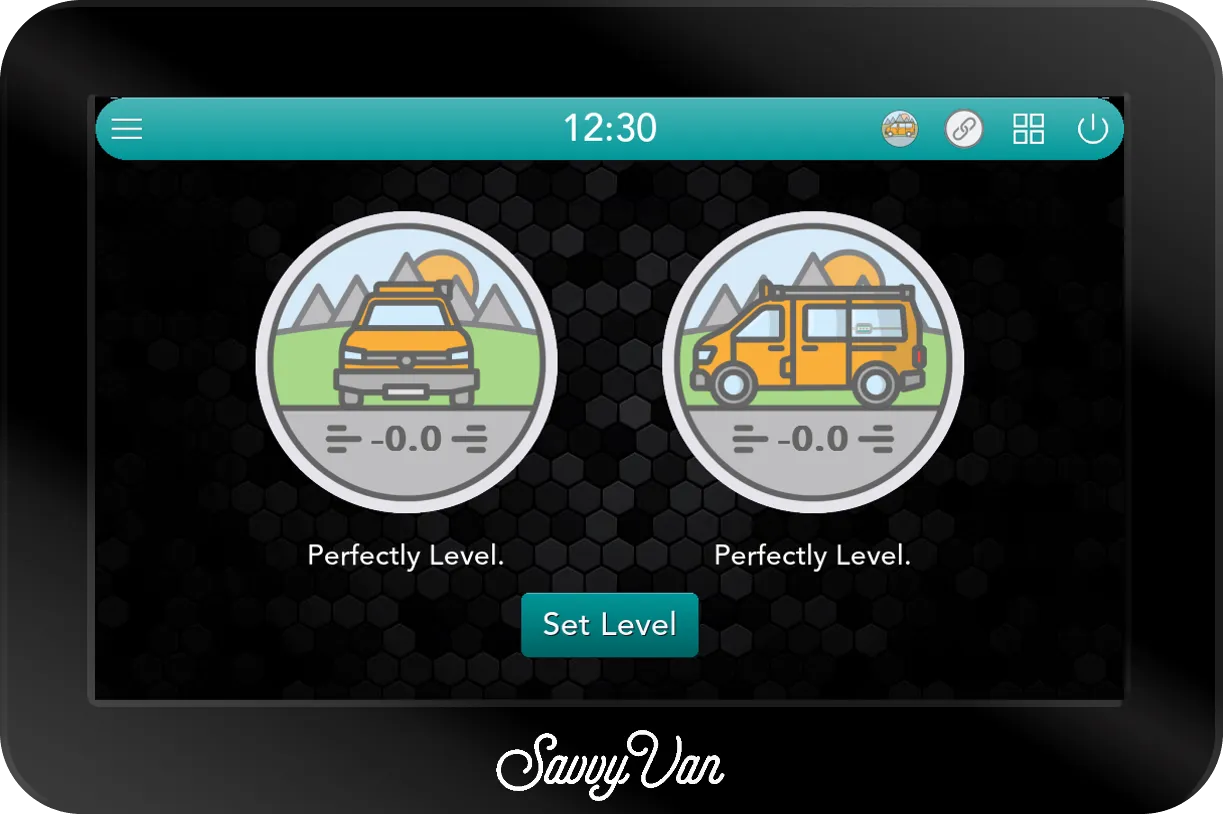
- Open the levelling page from the button at the top of the screen.
- Tap Set Level.
That reading is now your 0.0. If you sleep better with a slight pitch, set it like that on purpose - the panel will happily treat your preference as level.
Entering your wheel distances
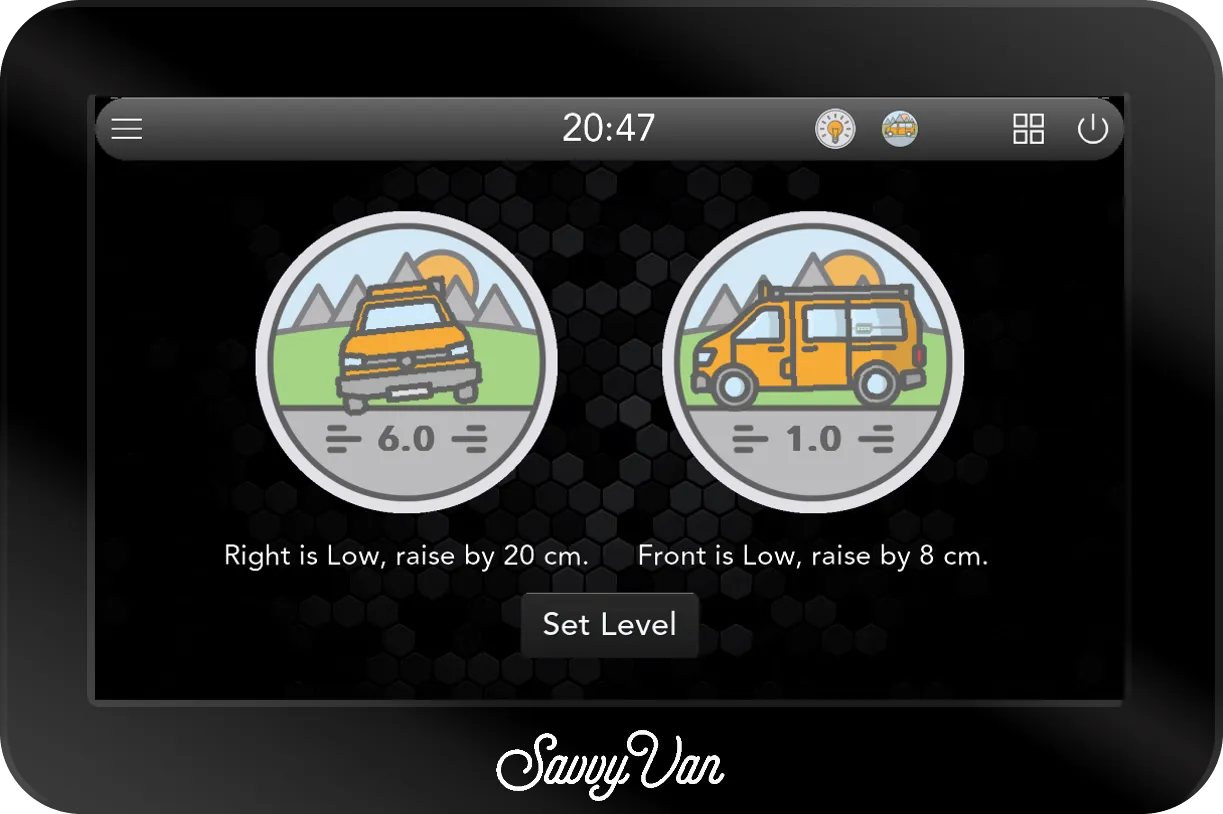
This is what lets the panel tell you how much rather than just which way.
With a tape measure, take the distance between wheel centres:
- Front to back
- Left to right
Then enter those figures in metres on the levelling page: tap the side view of the van for front to back, and the front view for left to right.
Using it
Tap the levelling button at the top of the screen whenever you park. There is nothing else to do - no zeroing, no menus.
Troubleshooting
No light is a supply problem, not a pairing one. Check the fuse and the feed before you rescan - it is the commonest reason a module never appears.
A red light means the module cannot do its job. Power it down, check the wiring against this guide, and power it back up. Still red? Tell us rather than working around it, and send the log files from the passcode screen.
Specification
| Range | Up to 20° on two axes |
| Sampling | Every 5 seconds |
| Working voltage | 7–30V |
| Draw | 0.03A at 12V |
Warranty
SavvyStance carries our 12-month warranty. The free second year you get for registering is for the SavvyVan3 panel itself, so there is nothing to register for this one.
Questions people ask
- Does it have to be perfectly level to fit?
- No. Mount it somewhere roughly flat and let the Set Level step take care of the rest - that is exactly what it is for.
- Can I set it to a slight pitch on purpose?
- Yes. Level the van however you like sleeping in it, then press Set Level. That becomes your 0.0.
- Why does it show StanceV2 in the list?
- That is the name the current sensor goes by. An original, first-generation SavvyStance shows as SavvyStance instead. Either way it is yours - add it and carry on.