
Installation guide
Fitting the Propex add-on
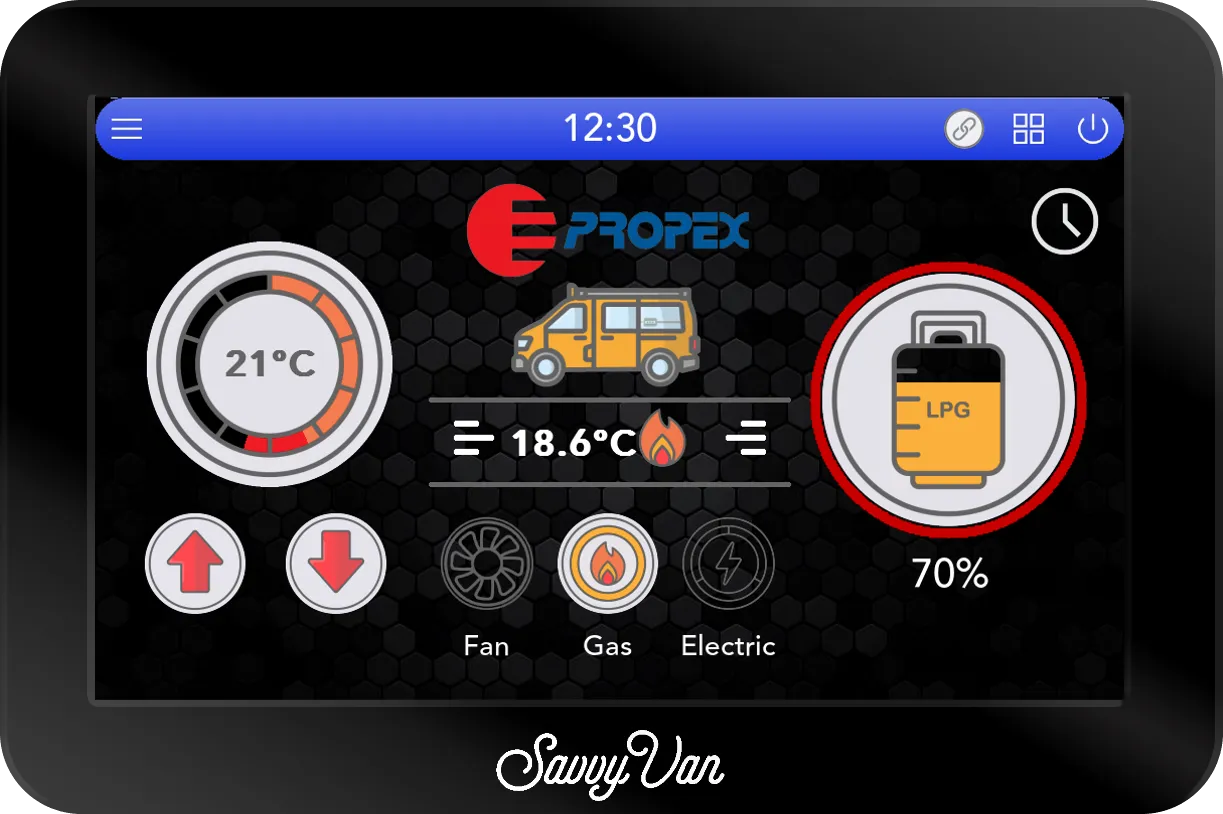
The Propex add-on replaces the analogue Propex control panel and brings heating, gas levels and gas isolation onto the SavvyVan3 screen. It uses the cables already on your heater, so there is nothing to cut and nothing new to run.
At a glance
- Replaces
- The analogue Propex control panel
- Works with
- Propex LPG, dual-fuel LPG/electric, and electric-only heaters
- Cabling
- One 6-pin cable for gas only, plus a 3-pin for gas and electric
- Also does
- LPG level and solenoid control, from the same module
- Temperature probe
- Into the SavvyVan3, not the add-on
- Pairs as
- PropexV2
- Developed with
- Propex Heat Source and Gastore
Before you start
Update the panel first - heater support improves with releases, and an old version may not offer your model. Update instructions are in the SavvyVan3 user guide.
Then turn the heater off at its isolator, and take your time getting the old panel out: the cables behind it are the ones you are about to reuse.
Wiring it in
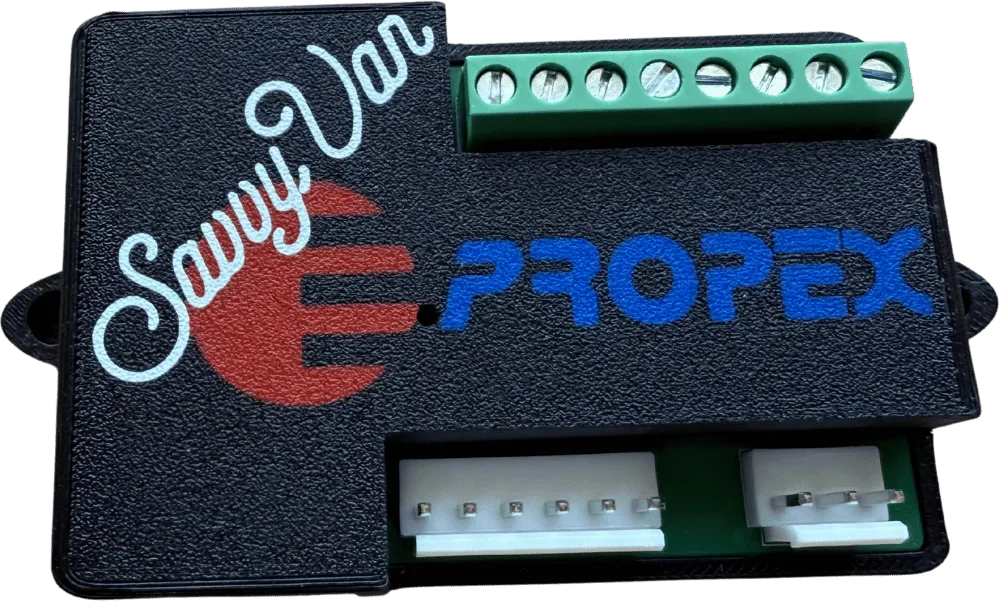
- Remove the existing Propex control panel, taking care not to damage the cables behind it.
- Plug those same cables into the add-on. They carry both power and the heater control, so there is nothing else to connect for the heating itself. A gas-only heater has one larger 6-pin cable; gas and electric models have an extra 3-pin cable as well.
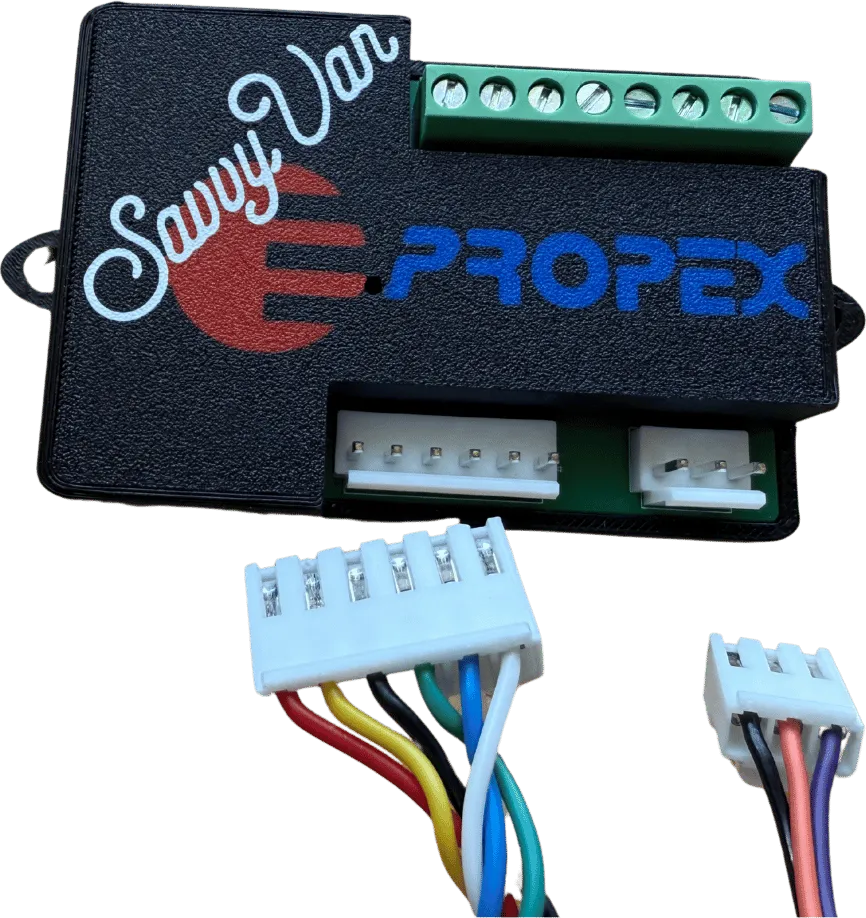
The add-on is a serviceable part. Wherever it ends up, it must be where it can be reached, disconnected and removed without dismantling fixed furniture or bonded panels - for example in an electrical locker, under a seat, or behind a removable access panel.
Gas level and solenoid
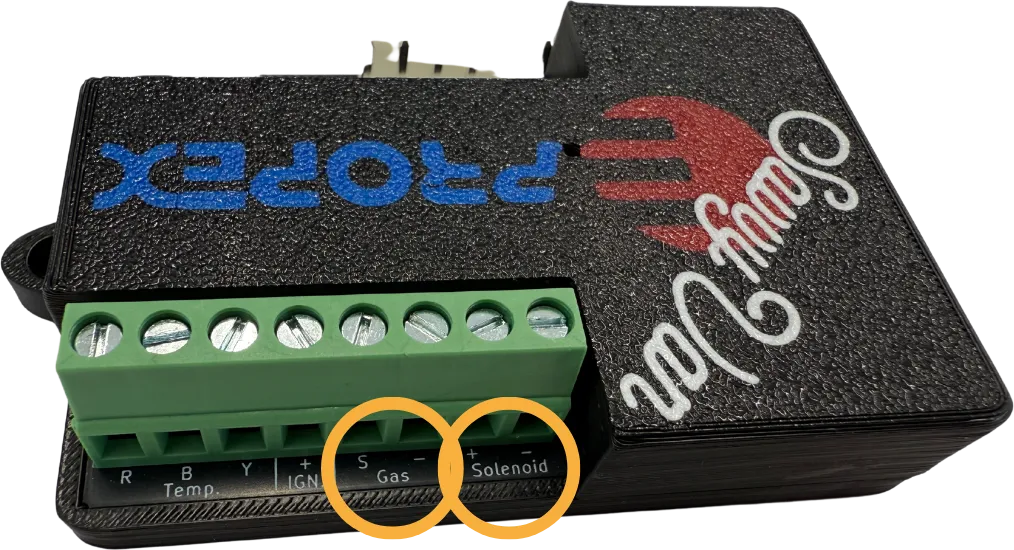
If you have a compatible gas tank, the add-on can show its level and open or isolate it for you.
- Gas sender: run the two cables from the sender to the screw terminals marked Gas.
- Solenoid: if you have a remote solenoid, wire it to the terminals marked Solenoid.
Temperature probe
Put the probe in the living space, somewhere with an even temperature - not in the heater’s warm air or against a cold outer wall - and switch the panel off before you wire it. The SavvyVan3 installation guide has the full steps.
What the light is telling you
One LED on the module tells you where you are - check it before you go near the panel.
| The light | What it means |
|---|---|
| Solid green | Powered up and booting. Give it a few seconds |
| Flashing blue | Booted, and waiting to pair |
| Solid blue | Paired to your panel. Nothing more to do |
| Red | Something is wrong - see troubleshooting |
| Nothing at all | No power reaching it - see troubleshooting |
Pairing it
- Wait for the flashing blue light inside the unit - that is the add-on saying it has booted and is ready.
- On the panel, open Installer Settings and go to the device pairing screen - the one with Scan on the right.
- Tap Scan, then tap the + next to PropexV2. It moves across to the saved list on the left.
Setting up the heater
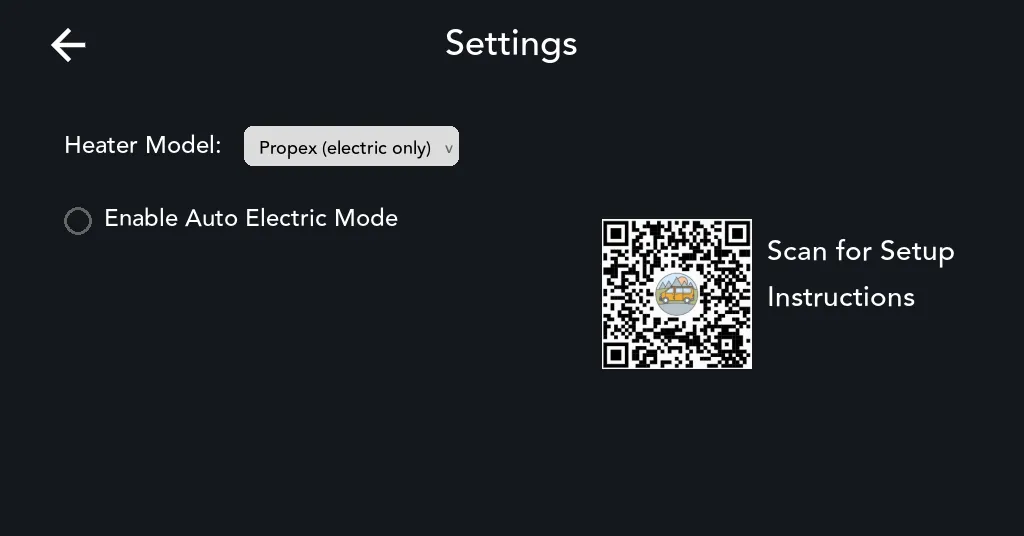
Go back to Installer Settings and tap Heater Settings. Set it up how you want, and - the important part - select the correct Propex model number.
Then tell the panel where the probe is: in Installer Settings, open Additional Settings and set the probe to Inside. That is the reading the heating page works to. Then head back to the main page.
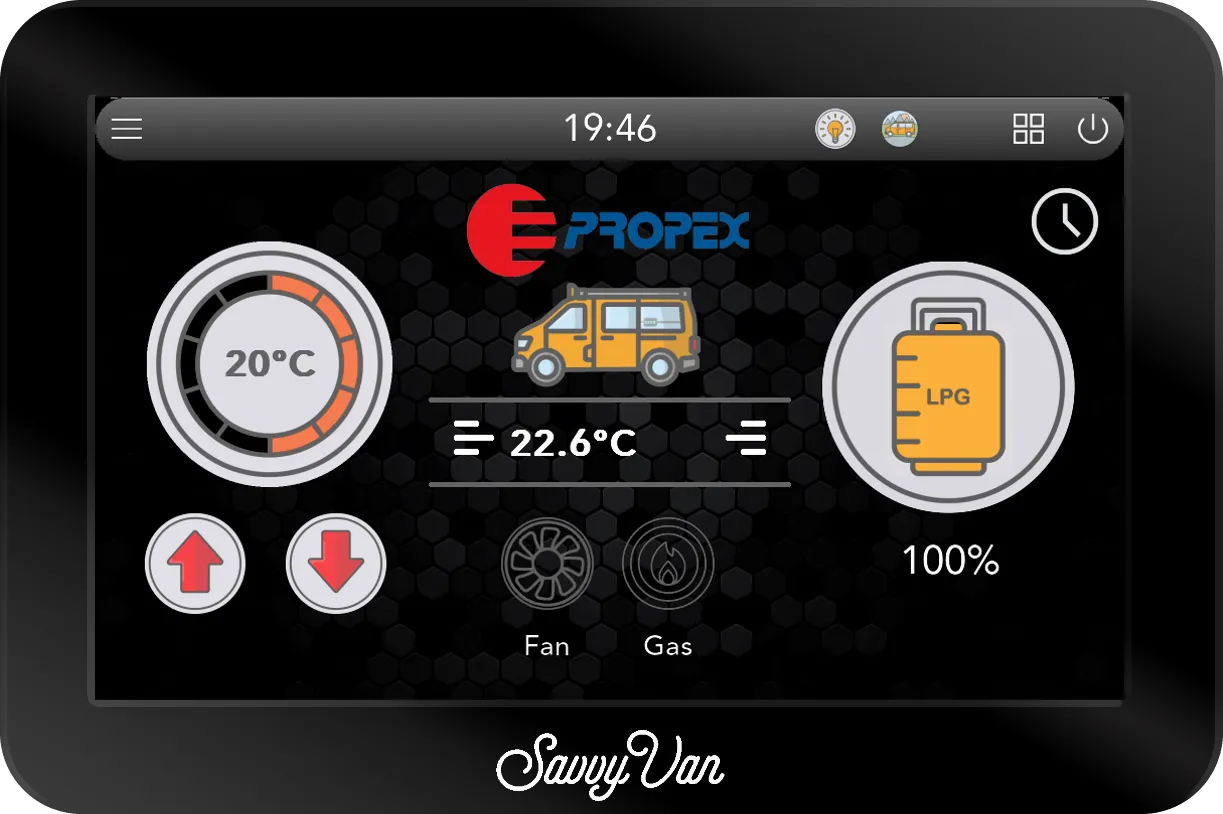
The heater icon now sits on the right of the main screen with your target temperature and current mode. Tap it for the full heating page, where you can run the heater, open or isolate the gas, and see what is left in the tank.
Troubleshooting
No light is a supply problem, not a pairing one. Check the fuse and the feed before you rescan - it is the commonest reason a module never appears.
A red light means the module cannot do its job. Power it down, check the wiring against this guide, and power it back up. Still red? Tell us rather than working around it, and send the log files from the passcode screen.
Questions people ask
- Does my heater need to be a particular Propex model?
- It works across the Propex LPG, dual-fuel and electric-only range. Pick your exact model in Heater Settings - HS2000 for gas only, HS2000E for dual fuel, or Propex (electric only) for an electric heater - so the panel drives it correctly and shows the right controls.
- Can I still use the original Propex panel?
- No - the add-on takes its place. It uses the same cables, so putting the original back is a five-minute job if you ever need to.