
Integration guide
Fitting SavvyVan3 to a BCA system
If your van has a BCA or PowerPart Seattle control panel, SavvyVan3 can replace it directly. The interface module uses the BCA plugs already behind your panel and arrives pre-configured - the power unit itself stays exactly where it is.
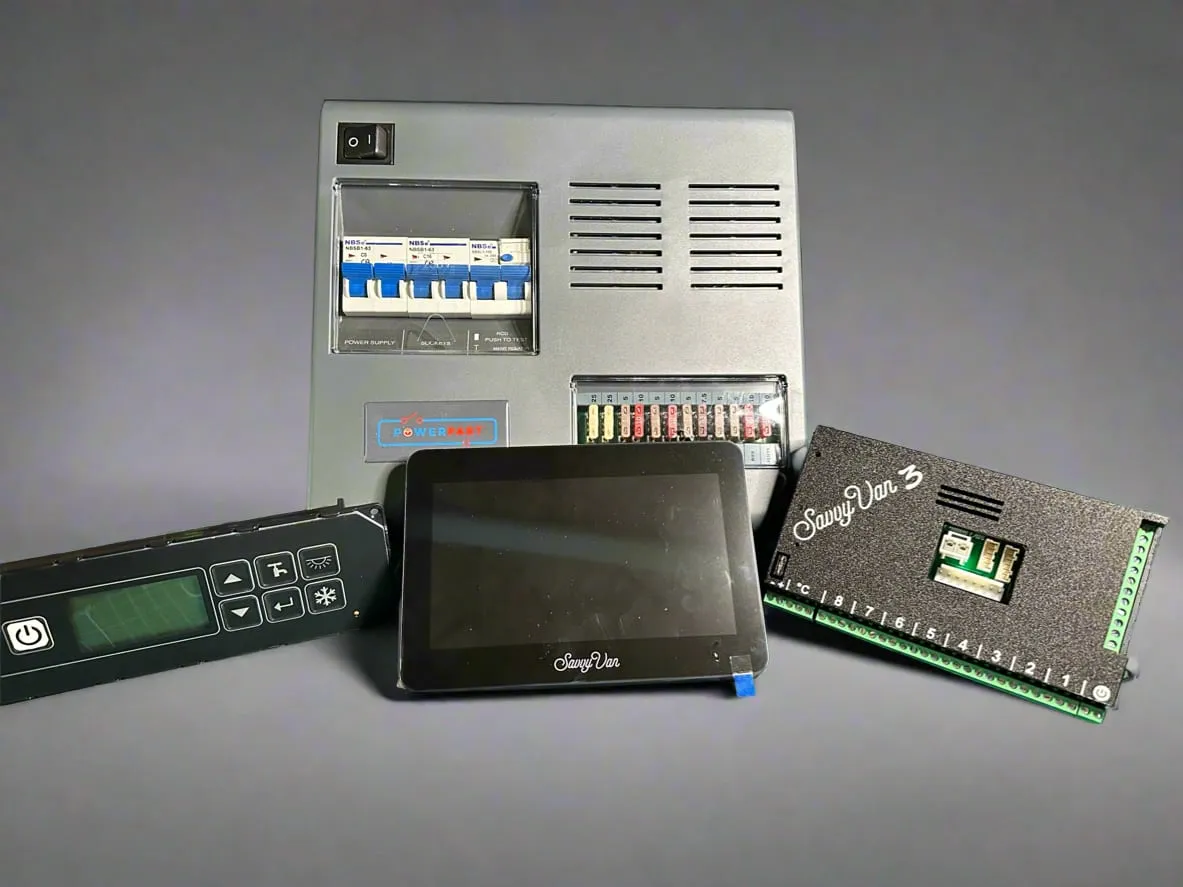
At a glance
- Replaces
- BCA / PowerPart Seattle control panel
- Works with
- Your existing BCA power unit
- Takes over
- 4 switching circuits, basic battery management, water sender
- Connector
- The BCA plugs already behind your panel
- Water sender
- Pressure based - Automatic or Manual calibration
- Ordering
- Through us - there is a form at the foot of this guide
- Operating temperature
- −20°C to +60°C
Before you start
Check you have ordered the BCA version of SavvyVan3, not the standard one - the boards are physically different. It is ordered by email rather than through the shop, so if you are unsure which you have, ask support@savvyvan.com.
If your loom has been modified from standard, tell us in the form at the foot of this guide before ordering.
What it takes over
Replacing the Seattle panel hands SavvyVan3 the four switching circuits, basic battery management and the water sender. It all moves onto the touch screen, and the unit arrives pre-configured.
Wiring it in
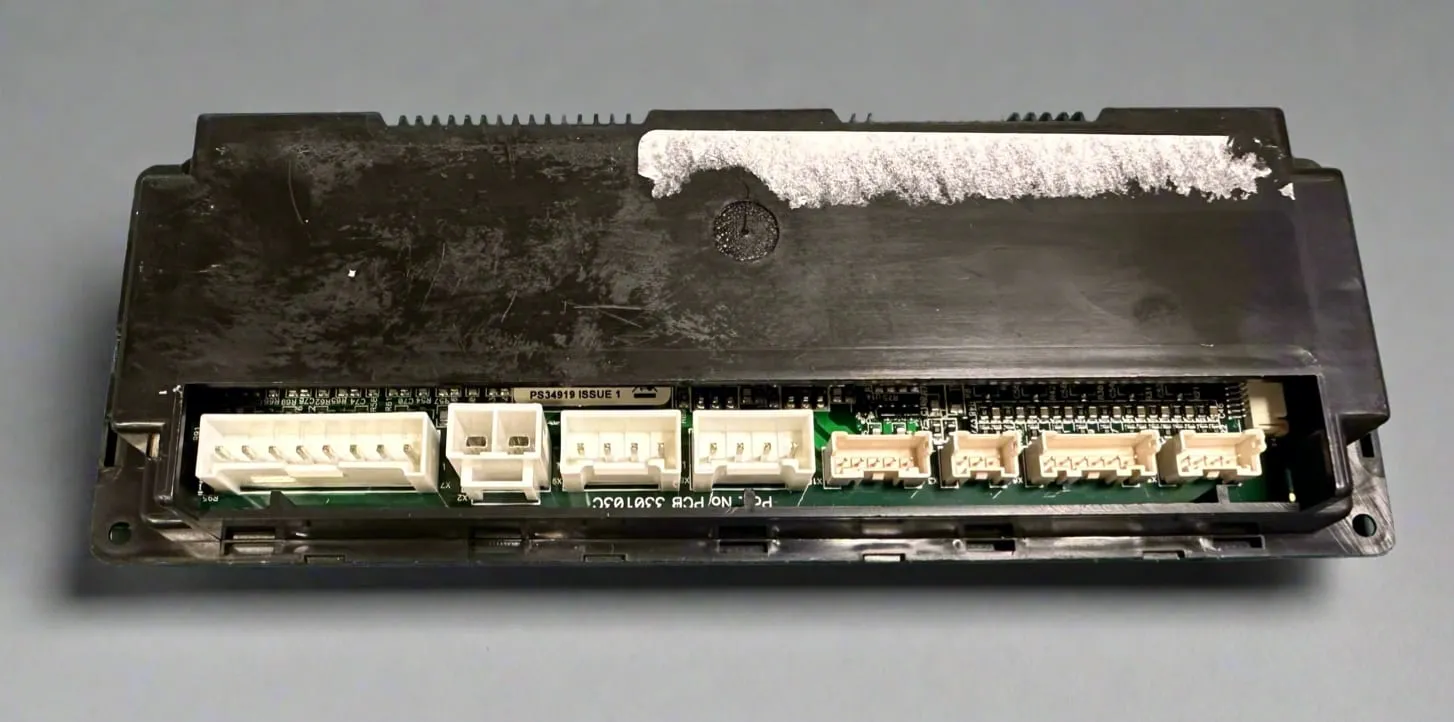
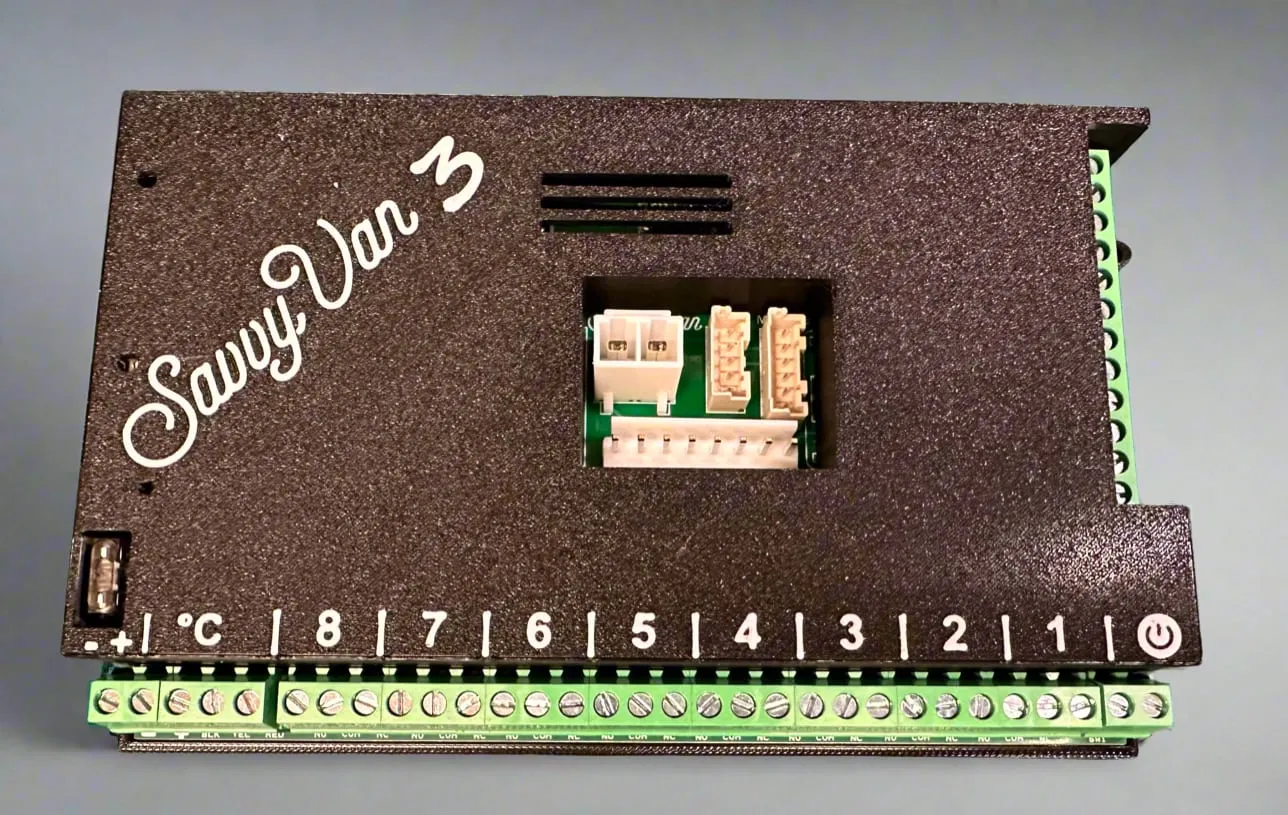
The control board is a serviceable part. It must be mounted where it can be reached, disconnected and removed without dismantling fixed furniture, bonded panels or the touch screen - for example in an electrical locker, under a seat, or behind a removable access panel. Use the 2m cables to position it away from the screen where needed. Do not mount it in a sealed or unventilated space, or near heat sources.
- Remove the existing panel. Take out the Seattle control panel and unplug the connectors from the back of it.
- Mount the SavvyVan control board. Somewhere you can reach and remove it later, as above, and within cable reach of the plugs you have just freed up.
- Move the plugs across. The same BCA connectors go straight onto the SavvyVan control board.
- Mount the screen. Full steps are in the SavvyVan3 installation guide.
Mounting the screen
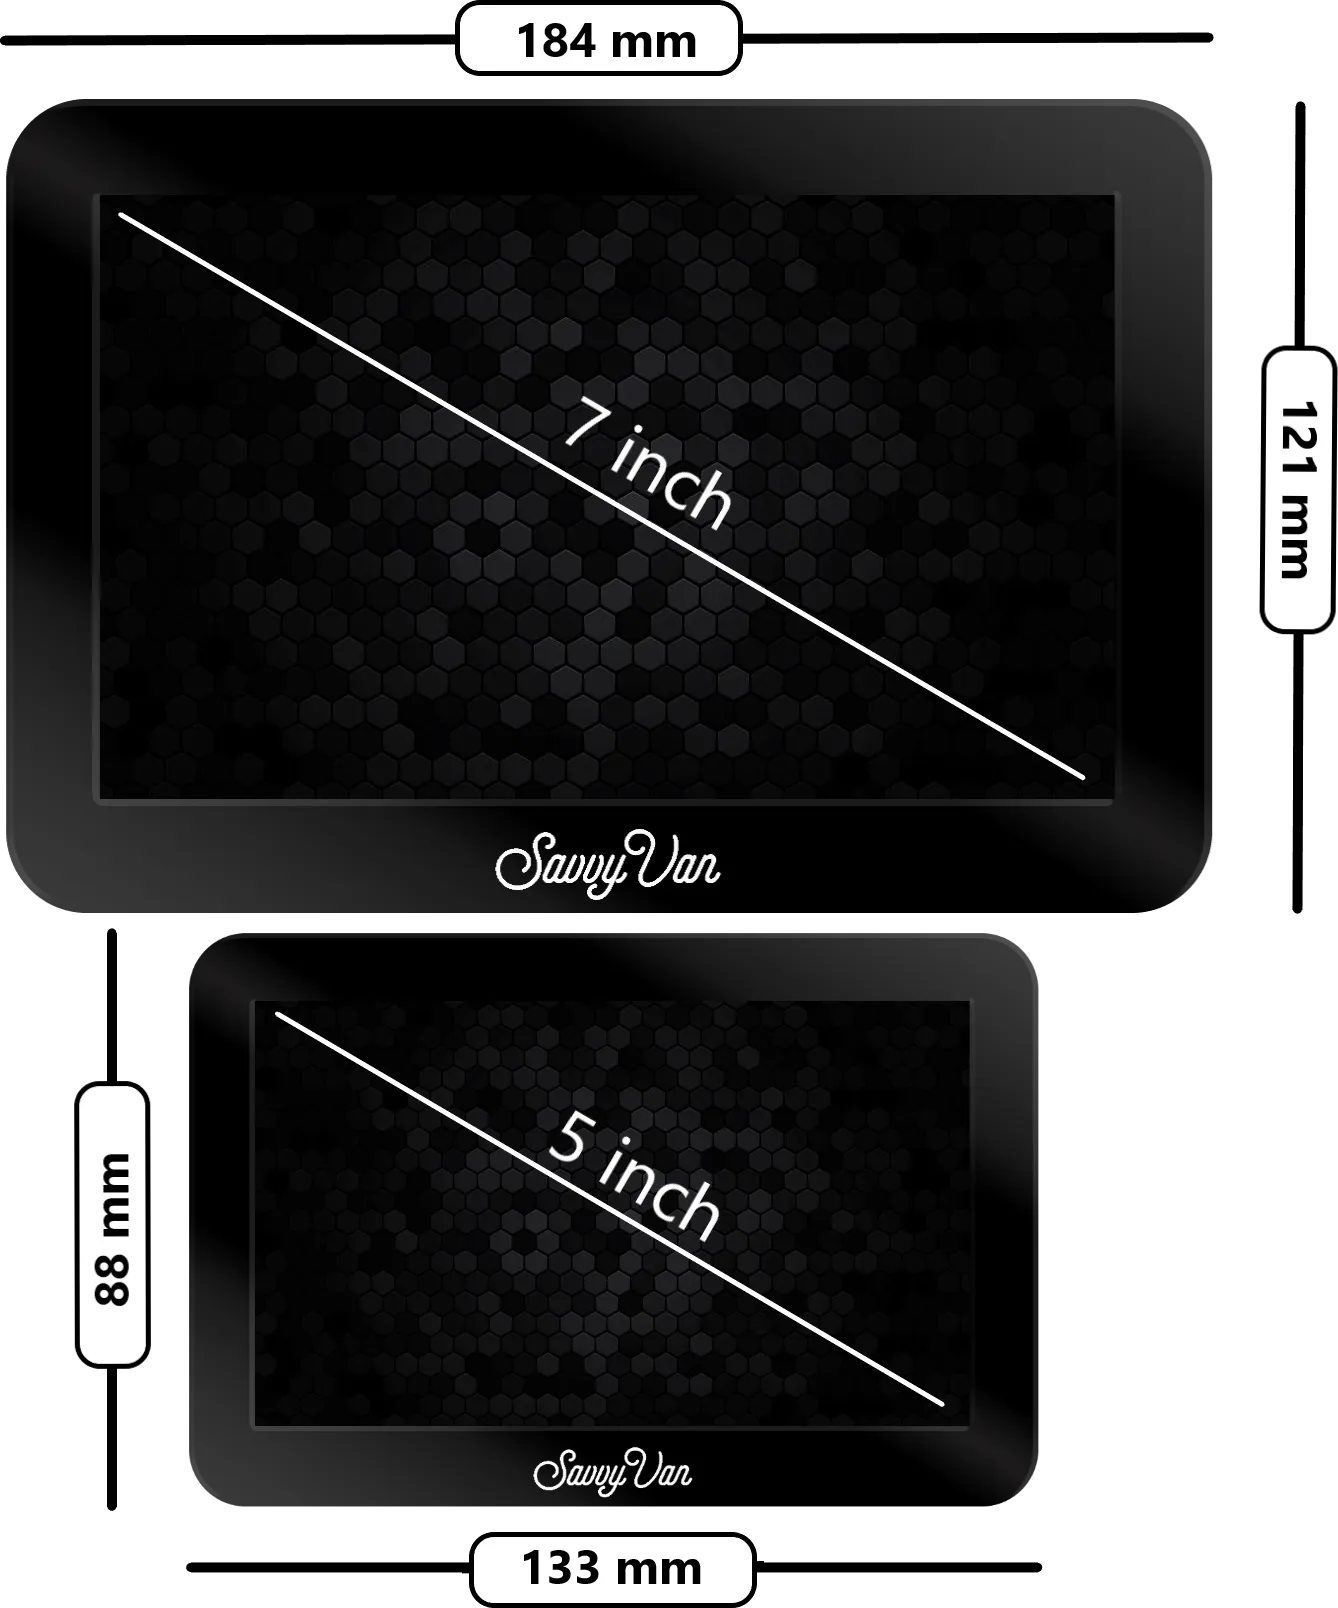
The screen mounts separately from the control board, up to 2m away. You may need to adjust the existing aperture to suit - the dimensions are below.
Temperature probe
SavvyVan3 comes with a temperature probe that can be fitted inside or outside the van. Follow the probe steps in the SavvyVan3 installation guide.
Calibrating the water sender
The BCA water sender measures pressure rather than level, so it has to learn your tank before the reading means anything. Two ways to do it, and both start with an empty tank.
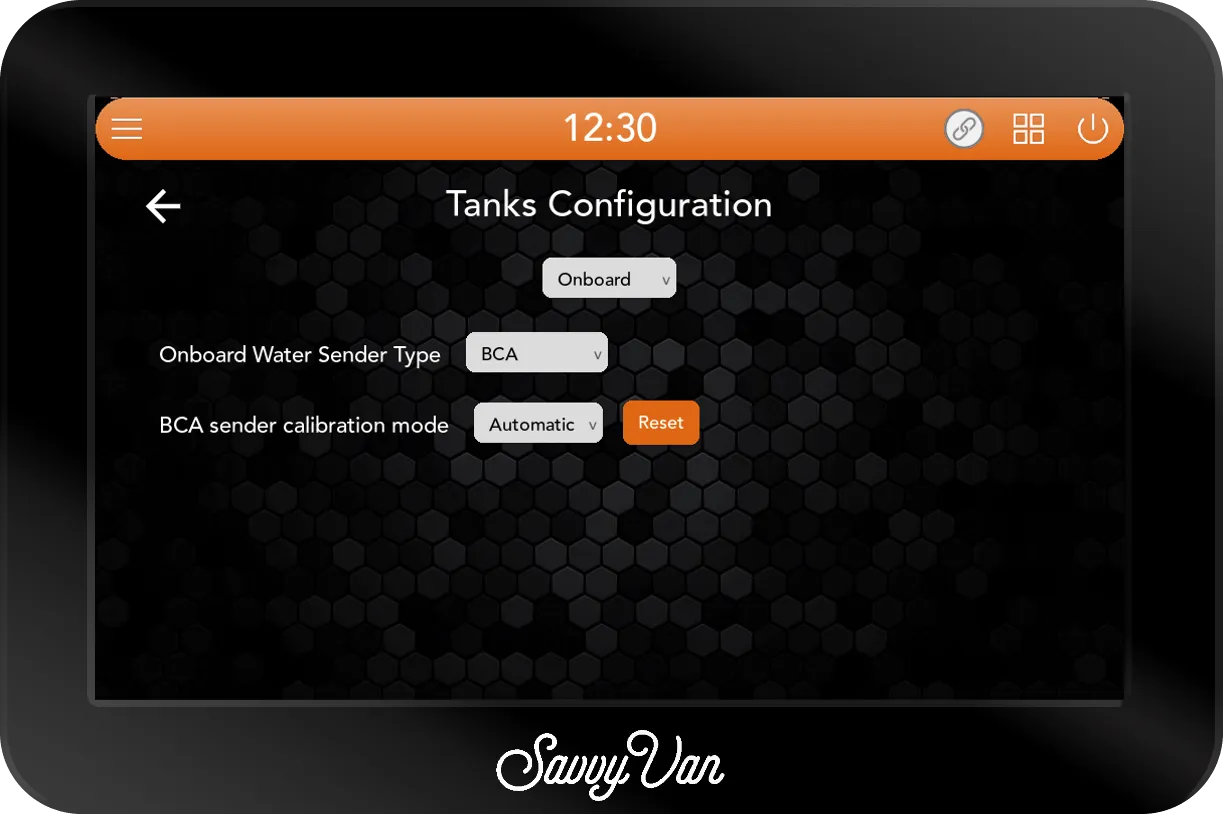
Automatic
- Tap the menu top-left, then Installer Settings → Tanks Settings.
- Set the dropdown under the title to Onboard, Onboard Water Sender Type to BCA, and BCA sender calibration mode to Automatic.
- With the tank empty, tap Reset.
- Tap the tile button at the top to go back to the main screen.
- Fill the tank.
The panel learns the level as the tank fills, and shows it on the main screen from then on.
Manual
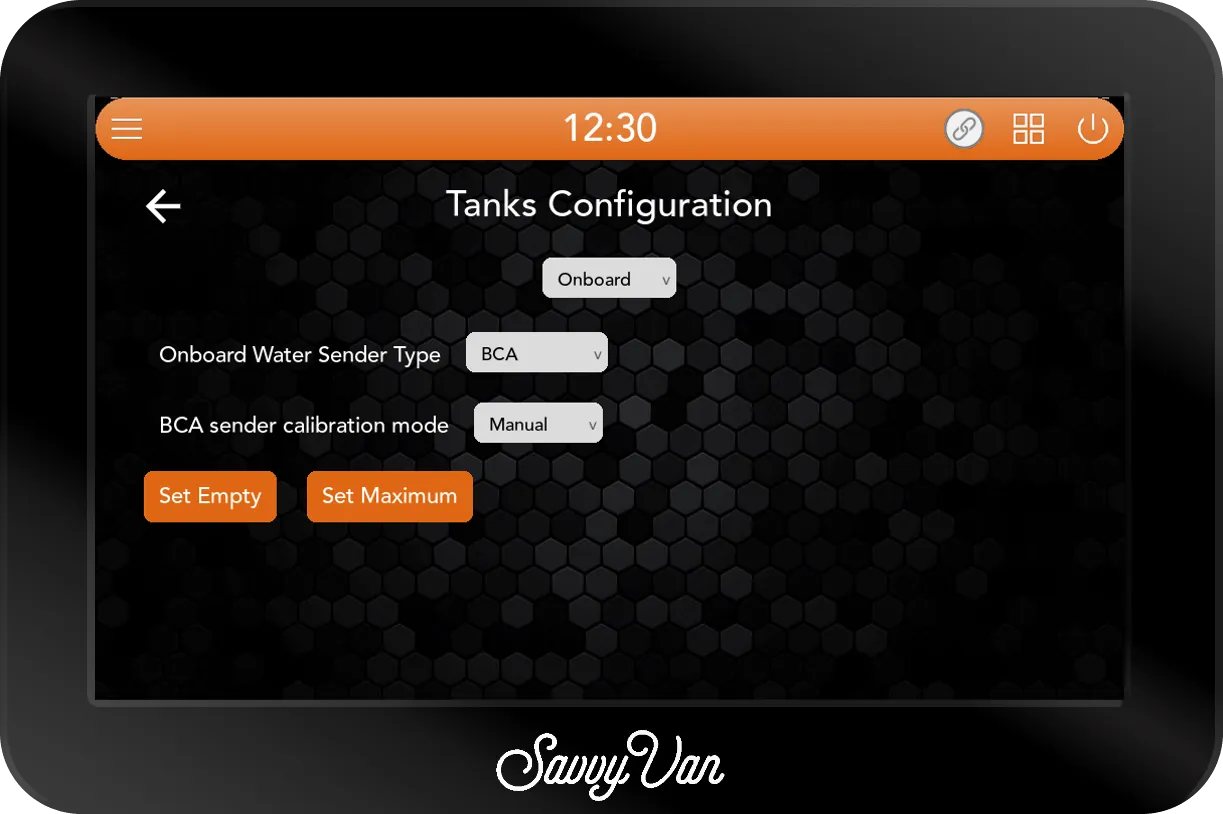
- Tap the menu top-left, then Installer Settings → Tanks Settings.
- Set the dropdown under the title to Onboard, Onboard Water Sender Type to BCA, and BCA sender calibration mode to Manual.
- With the tank empty, tap Set Empty.
- Fill the tank, then tap Set Maximum.
The panel now has your minimum and maximum stored, and shows the level on the main screen.
What else you can add
Tiles 1–4 are driving your BCA power unit, but everything else SavvyVan3 does is still available - tank monitoring, battery data, lighting, heating and levelling, all wireless.
Browse the rest of the guides →
Order the BCA version
The BCA version is not on the shop - it is set up for your loom before it ships, so it starts with a conversation. Tell us what is in the van and we will come straight back.
If your loom has been modified from standard, say so here. It is the one thing that changes the answer, and it is much cheaper to know now than after the panel arrives.
Ask us about the BCA version
Tell us what is in the van and roughly where you are up to. We read every one of these, and we would much rather answer a question now than have you order the wrong panel.