
Setup guide
Setting up SavvyVan Lite
Getting a SavvyVan Lite v2.1 running once it is in the wall: WiFi, the settings menu, updating, and configuring your tiles. If you are still fitting it, the wiring is in the installation guide.
At a glance
- Passcode
- 123456 by default, unless an installer set their own
- Settings
- The cog, bottom right
- WiFi icon
- Top right - white is online, grey is offline
- Updating
- Manual, and it can take up to 30 minutes
- Wiring
- In the installation guide, not here
- Status
- No longer sold or supported
First startup
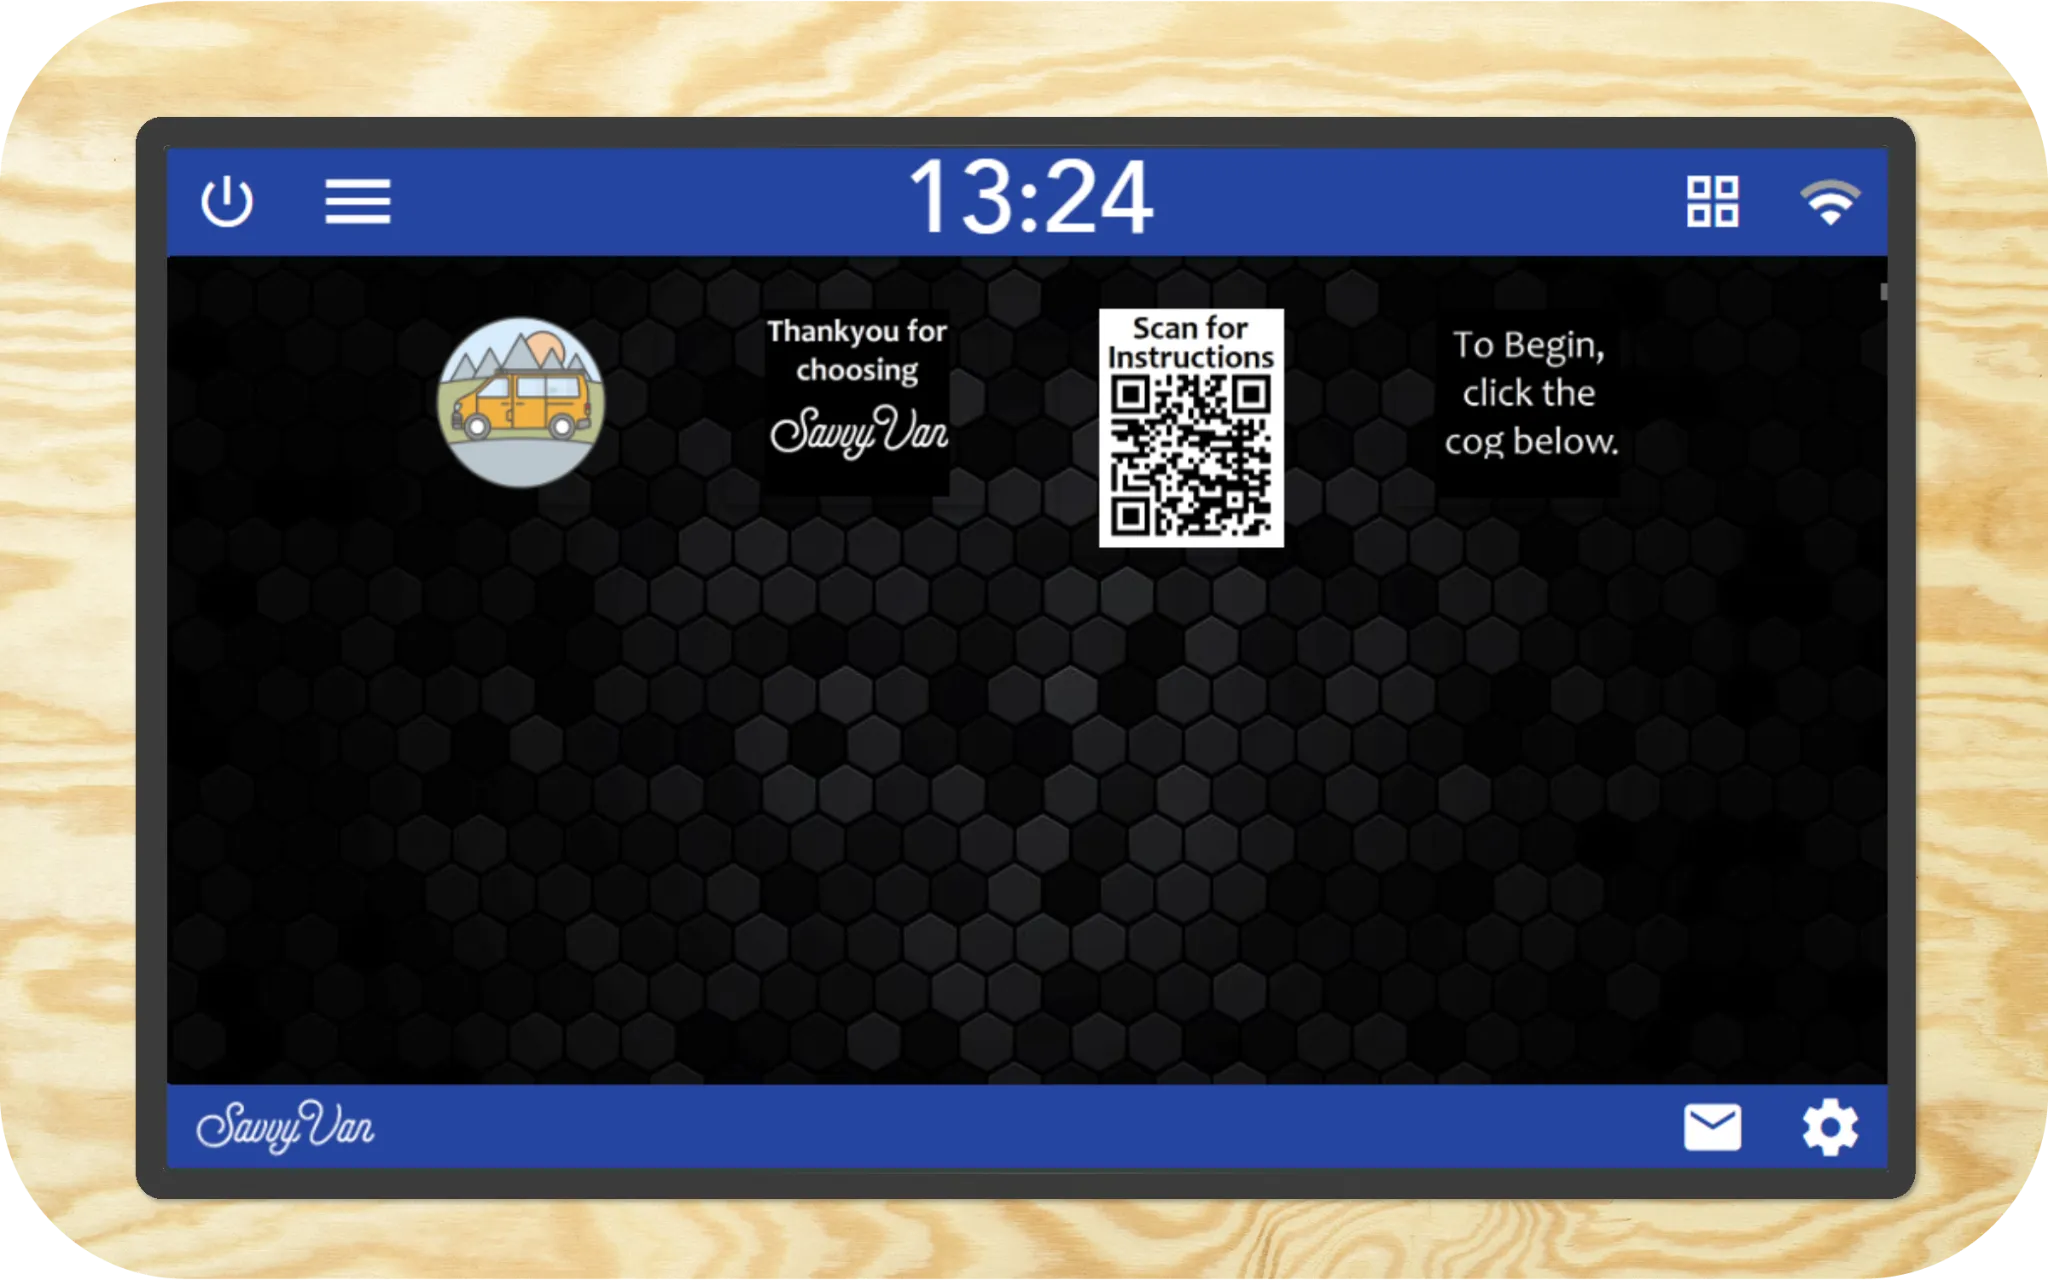
The unit starts as soon as its 12V supply is live. Give it up to 60 seconds to calibrate, then follow the instructions on screen.
WiFi
The panel has 2.4GHz WiFi, needed for the clock, weather and updates. The icon top-right shows the state at a glance: white is online, grey is offline.
Tap it to configure, and note that on Lite the panel does not search for networks - you type the name in.
- Enter your network name exactly as it appears, capitals and all. If you are not sure, check on a phone first.
- Enter the password.
- Tap Save, then Commit.
The connection restarts and joins after a few moments. To forget a network, tap the bin beside it and Commit again.
The settings menu
Tap the cog, bottom right, and enter the passcode. 123456 by default, unless whoever fitted it set their own.
Updating
Updates are manual on Lite - the panel will not do it by itself. We email when one is released.
Depending on your software version, either:
- Tap the Menu top-left, then Update; or
- Tap Settings, enter the passcode, choose System Information, then Update Now.
To check which version you are on: Settings → System Information.
Configuring your tiles
From the settings menu, choose Configure Tiles.
- Choose how many tiles you have connected. Keep the total - including battery management - to eight, or the layout gets crowded on the screen.
- Select a tile, then pick an icon from the drop-down list.
- Or make your own: type a name, choose an icon, and it appears at the bottom of the list ready to use on one tile or several.
To remove a tile you created, select it and tap Delete.
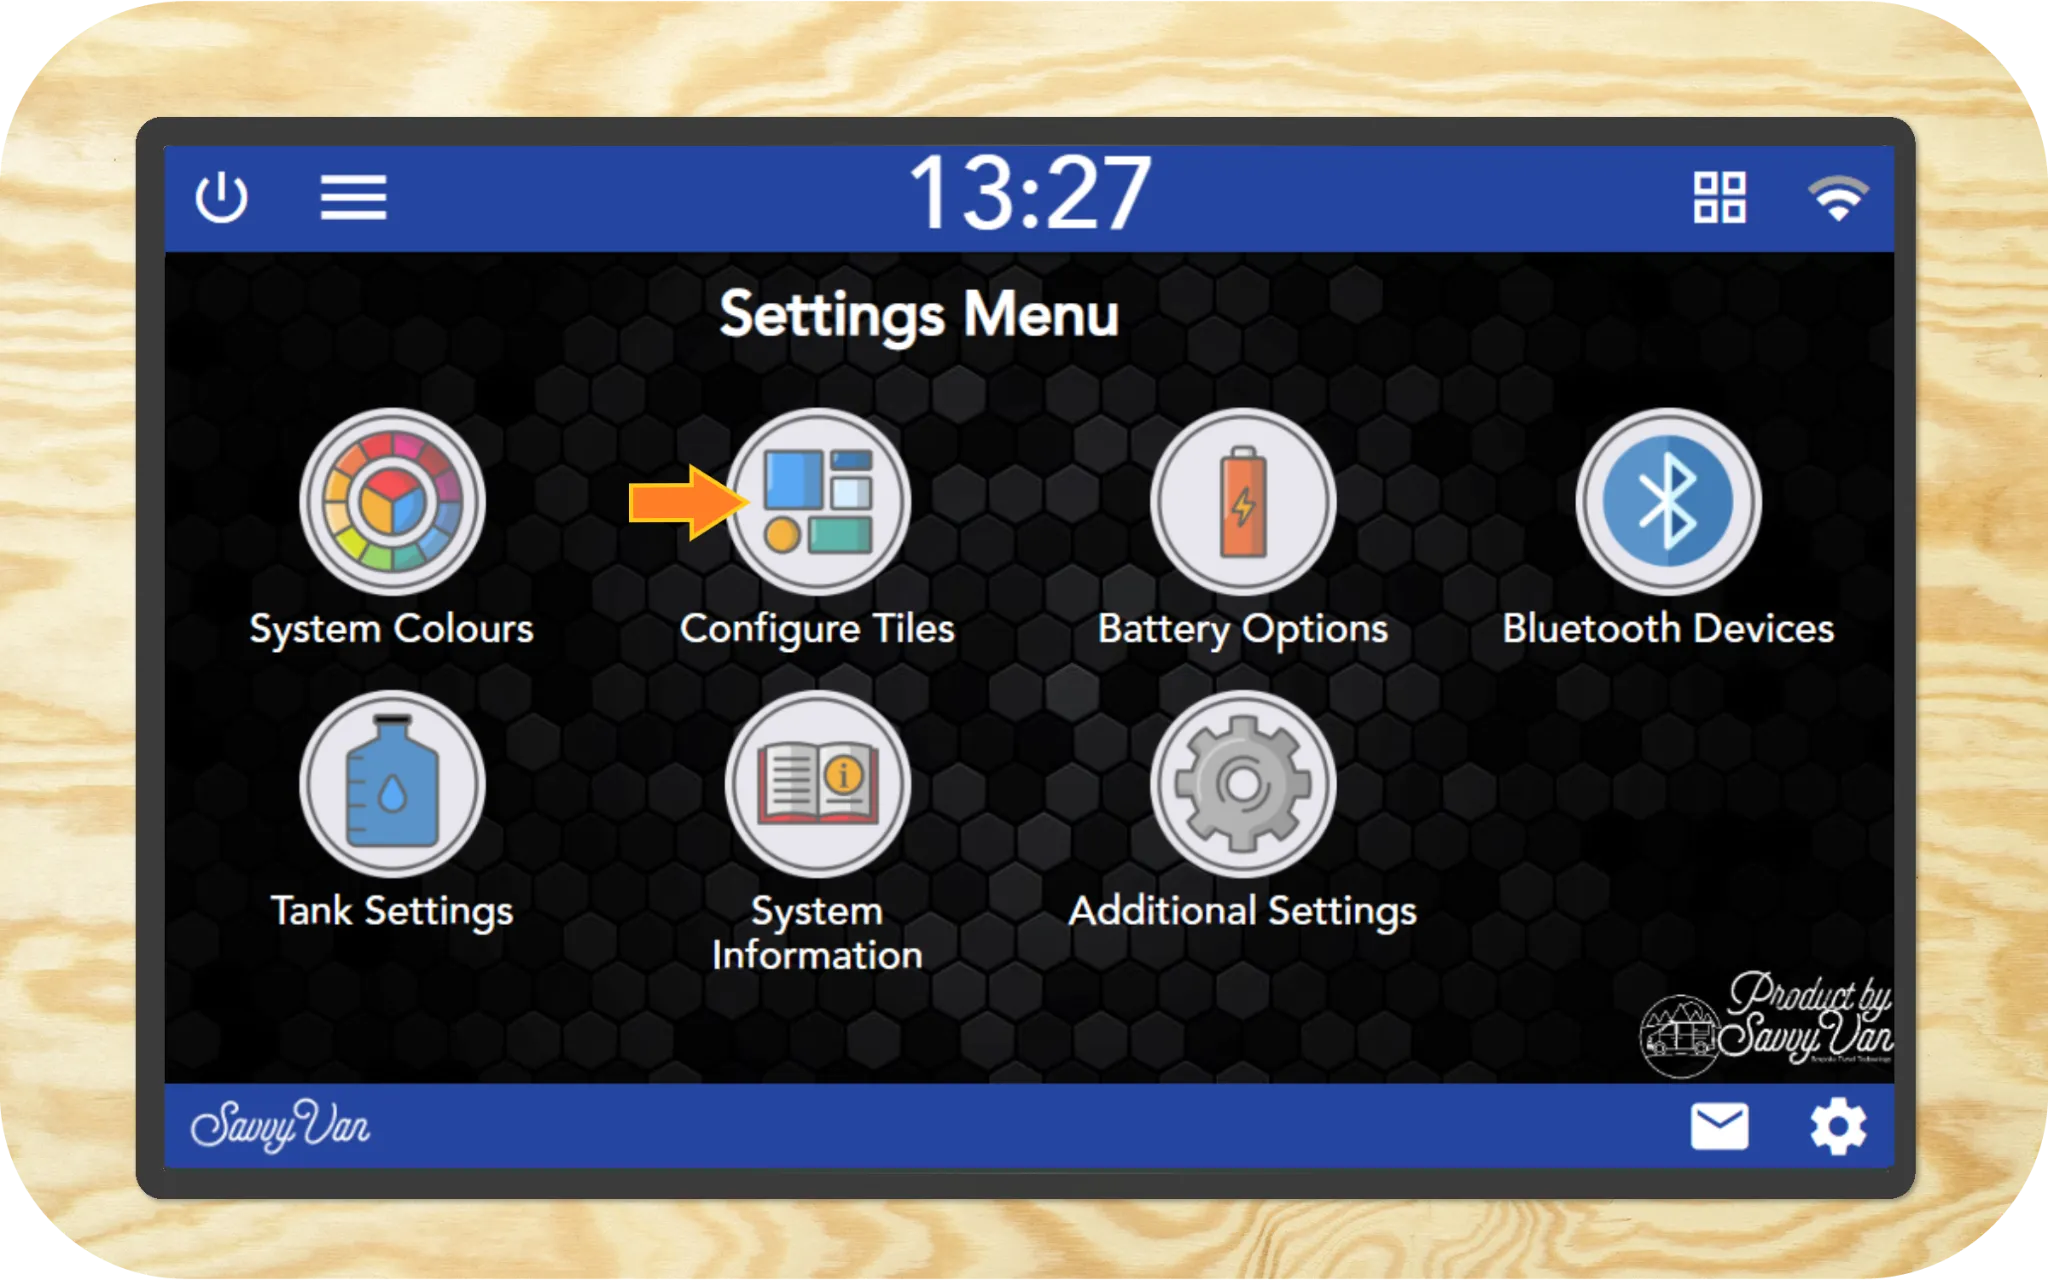
Colours are under Settings → System colours.
Troubleshooting
What comes after Lite
SavvyVan3 replaced it: separate screen and control board so the screen goes where you want it, positive or negative switching, over-the-air updates in minutes rather than half an hour, and the wireless add-ons that came after - tanks, lighting, levelling and heating. SavvyShunt is the exception: it works with a Lite as well.
Questions people ask
- Why will my WiFi not connect?
- On older Lite software the panel does not scan for networks - you type the name in yourself, and it has to match exactly, capital letters included. After saving, tap Commit.
- How long does an update take?
- Up to 30 minutes, with the screen blank for much of it. Do not disconnect the power, and expect to reconfigure some settings afterwards.
- I have forgotten the passcode.
- The default is 123456. If your panel came fitted in a van someone else built, the installer may have set their own - ask them first, then us.