
Integration guide
Running a Pundmann water heater
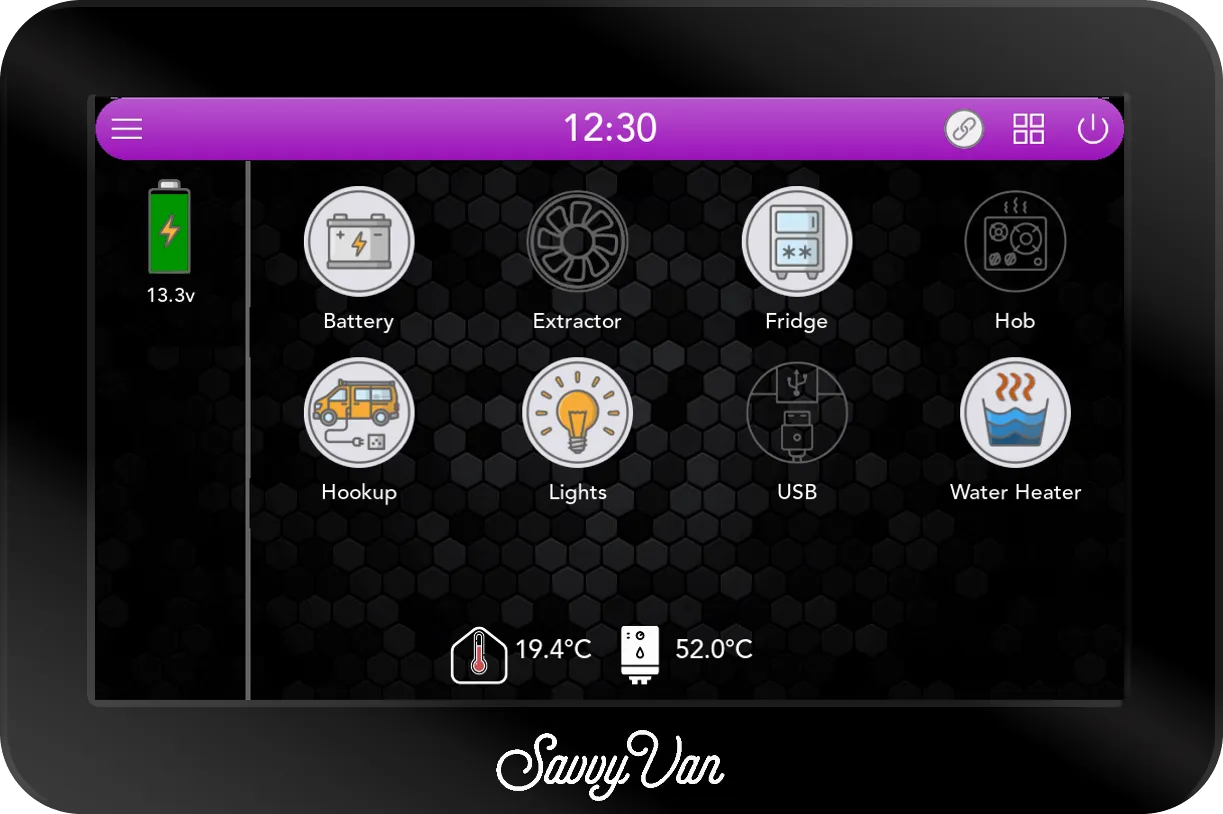
SavvyVan3 has Pundmann water heater control built in. It drives the heater through one of the eight switches and an external high-current relay, and reads the heater’s own temperature probe - so hot water joins everything else on the one panel.
At a glance
- Connects via
- One switch, driving an external high-current relay
- Temperature
- The heater’s own probe, into the °C terminals
- Needs
- SavvyVan3 on software 2.1 or later
- Adds
- Schedules, auto-off, charge overflow and low-battery cut-off
- Charge overflow
- Needs a SavvyShunt, or a battery that connects to the panel directly
- Developed with
- Pundmann
What you will need
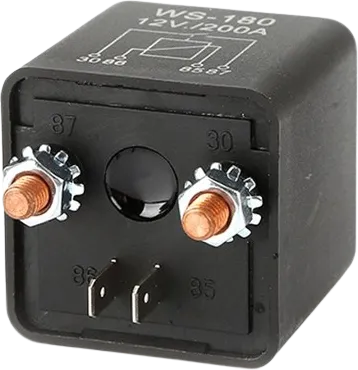
- A high-current relay - ours is a 200A unit, activated by a 12/24V signal across its control spade terminals.
- A fused 12V feed for the switch side.
- The heater’s own temperature probe, which comes with the Pundmann unit.
- SavvyVan3 on software 2.1 or later. Update instructions are in the SavvyVan3 user guide.
Wiring it in
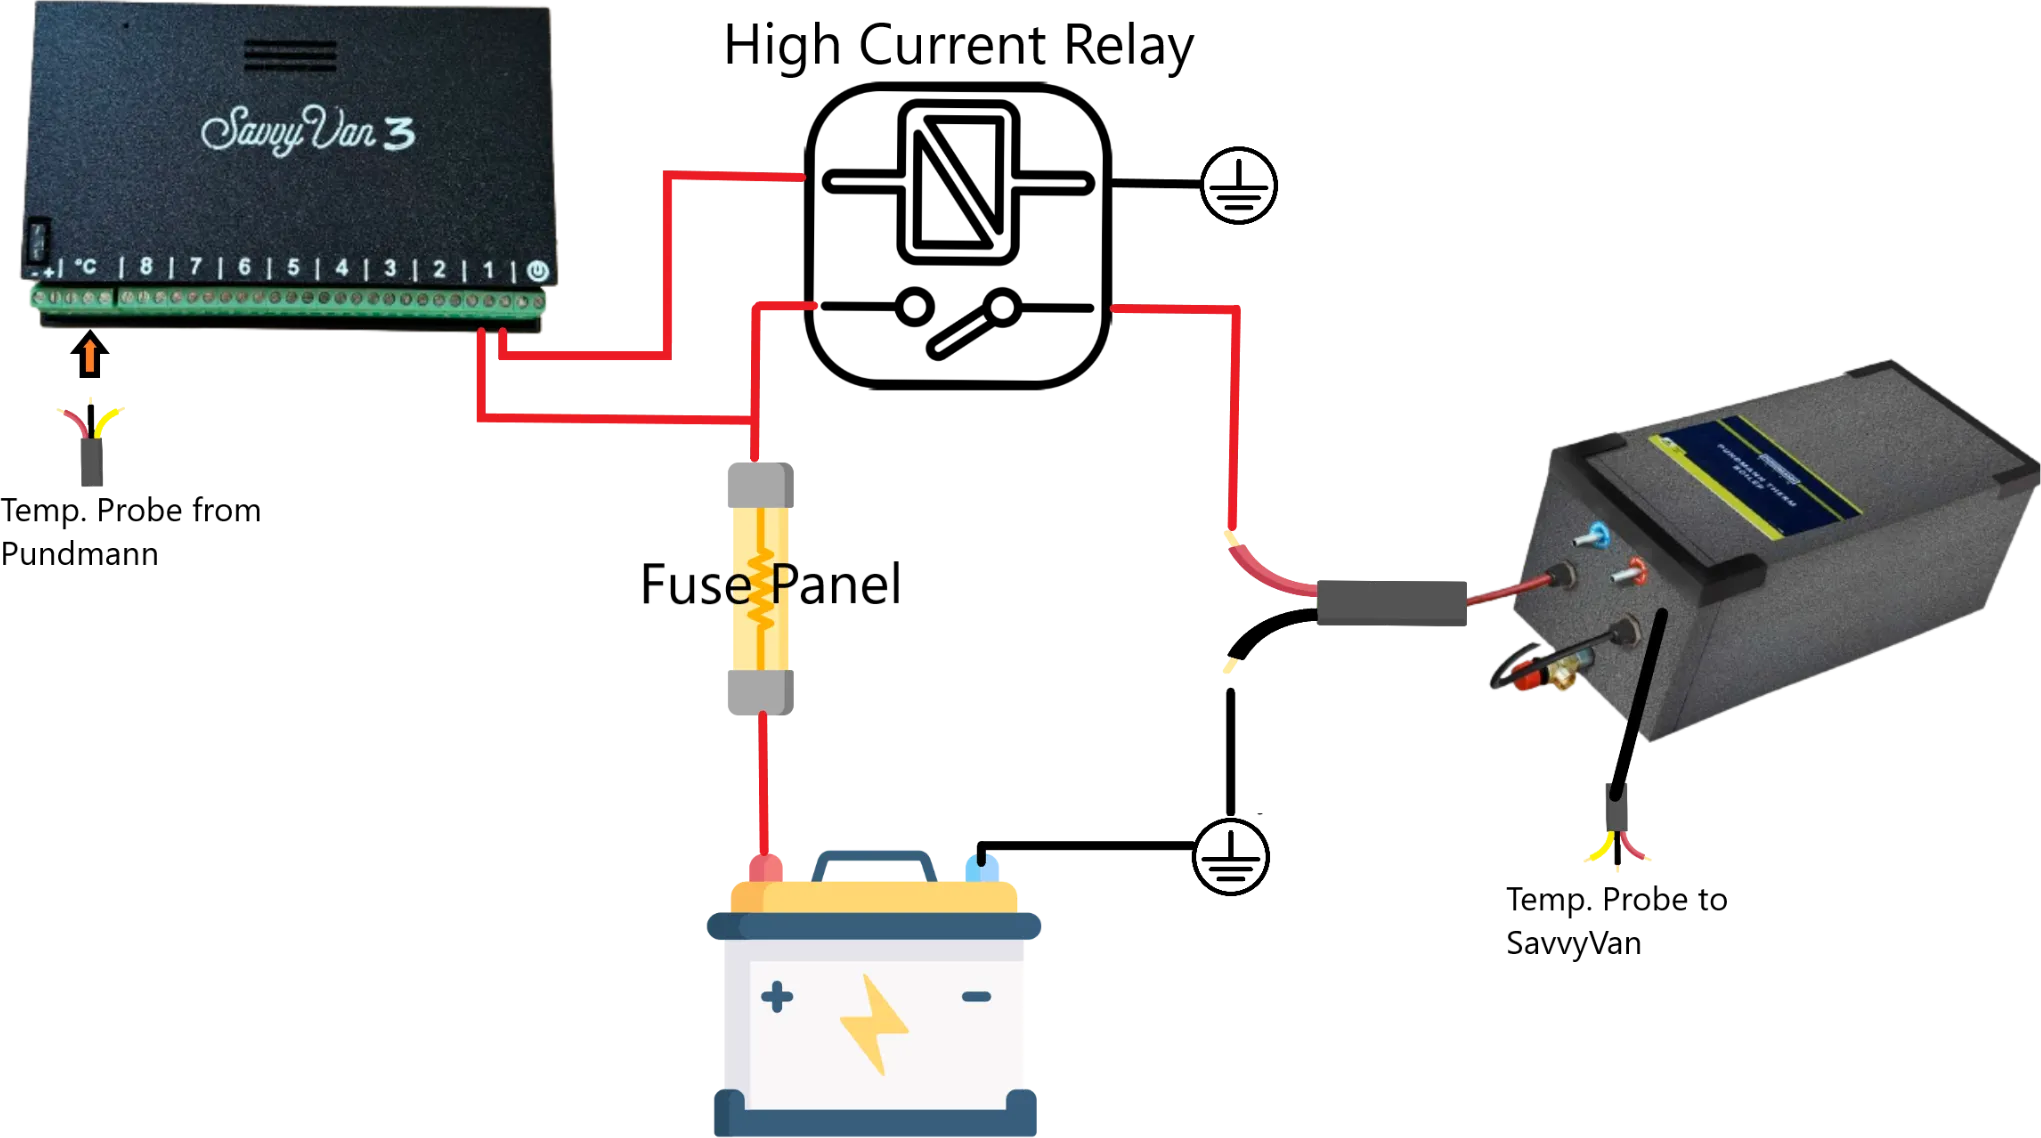
- Feed the switch. Take a fused feed from your 12V supply to the COM terminal on the SavvyVan switch you want to use.
- Switch to relay. From the NO terminal on that same switch, run a wire to either spade terminal on the relay.
- Relay to ground. The other spade terminal goes to ground.
- Fit the heater. Follow Pundmann’s own installation instructions for the water heater itself.
- Relay inline on the heater feed. Put the relay’s two large nut terminals inline on the positive 12V feed into the Pundmann heater. That is what lets SavvyVan turn it on and off.
- Connect the temperature probe. Run the small black lead from the probe inside the Pundmann unit to the °C screw terminals, matching the colours: BLK to black, YEL to yellow, RED to red.
Configuring it
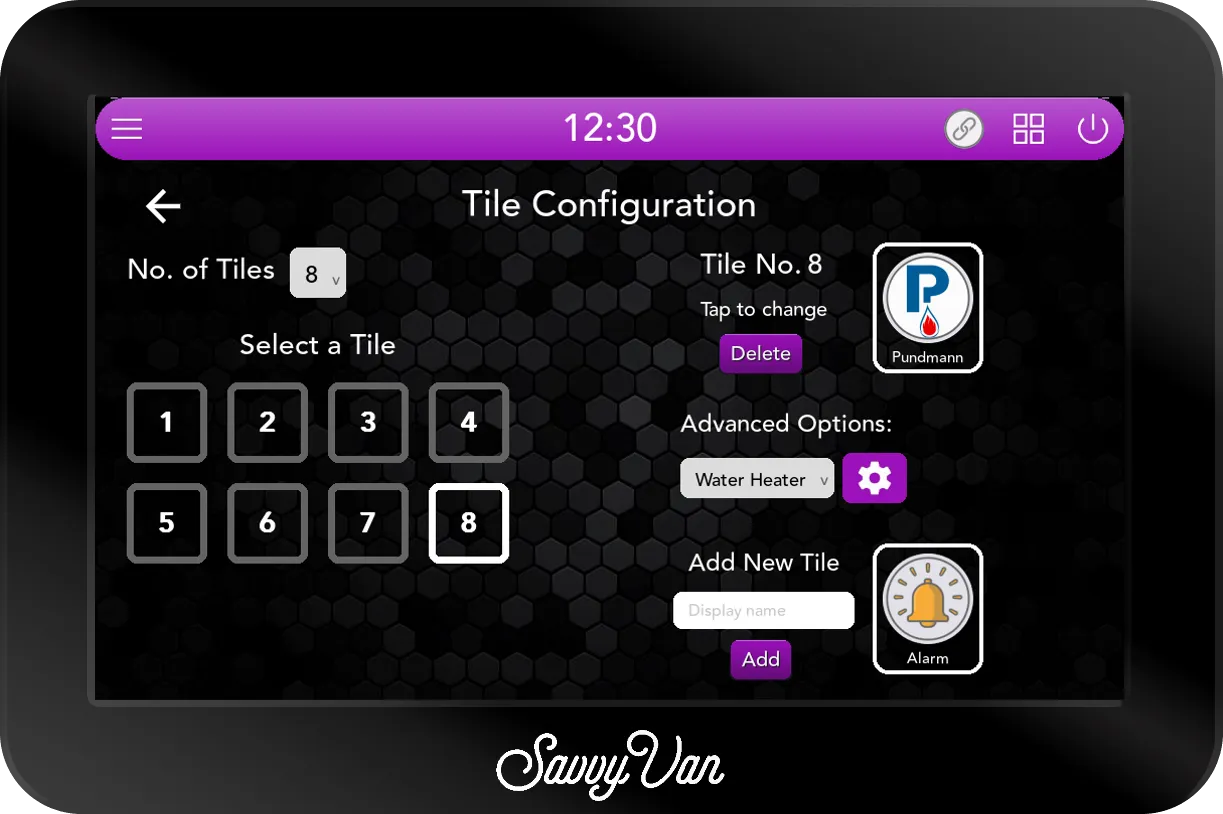
- Tap Installer Settings, enter the passcode, then Tile Settings.
- Select the switch number you wired the heater to.
- From the Advanced Options dropdown, choose Water Heater, then tap the settings cog beside it.
The settings worth knowing
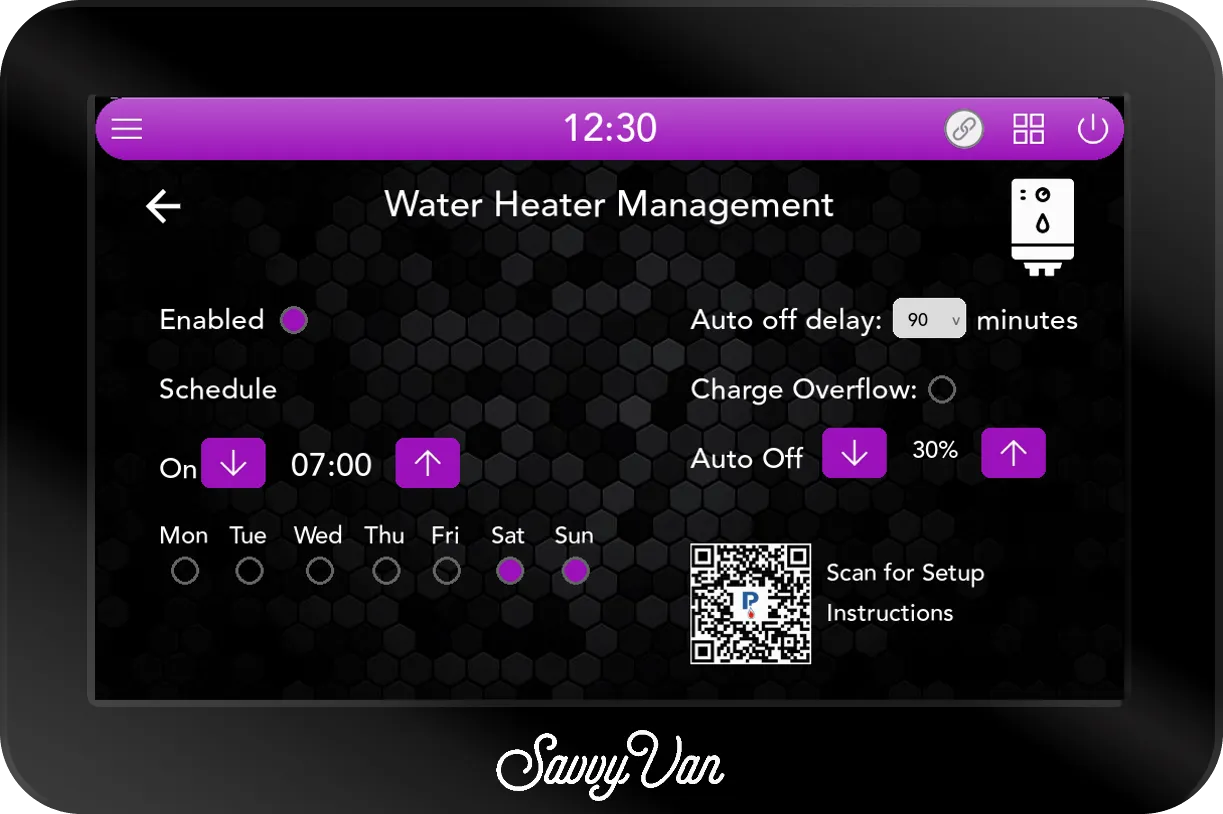
- Enable - turns the automation on and off. Worth switching off when the van is not in use, or when the heater is empty.
- Schedule - turns the heater on at the time and day you choose. It works alongside the auto-off delay rather than instead of it.
- Auto off delay - however the heater came on, manually or on a schedule, it turns itself off again after this long.
- Charge overflow - when the battery reaches 95%, the heater comes on; once it falls to 90%, it goes off again. In other words, it spends the solar you would otherwise waste. Ticking it sets the auto off delay to Off, so the heater runs for as long as there is charge to spare. Needs a SavvyShunt, or a battery that connects to the panel directly.
- Auto off - turns the heater off if the battery drops to a level you set. Like charge overflow, it needs that battery percentage.
Questions people ask
- Why does it need a relay?
- A SavvyVan switch is rated to 10A, and a water heater draws well over that. The switch sends the signal; the relay does the heavy lifting.
- Why is the charge overflow option greyed out?
- Charge overflow and Auto Off stay greyed out until a SavvyShunt, or a battery that connects to the panel directly, is paired - the panel needs a battery percentage it can trust before it will decide to spend it.